|
|
Products: Corsair Glaive and MM800 Reviewed by: Antonis Sapanidis |

There are four things that all PCs use every day. These are the keyboard, mouse, mousepad, and the monitor. The first three are the ones that we sometimes decide to cut corners with so that we can invest the extra money in a better graphics card, monitor, or whatever else you find more important for your computer. The story changes once you get used to better keyboard, mouse, and mousepad. You then realise how important they are and how after all it might not have been the best idea to try and save some money on the expense of those three.
I will now be taking a quick look at the Corsair MM800 Polaris RGB mousepad, and also at the Corsair Glaive mouse. You can find more info about them on the Corsair website, where I am also taking the pricing from. At the time of writing this review the Corsair MM800 Polaris RGB mousepad is €75 or $60 US dollars, and the Corsair Glaive mouse is priced at €80 for the EU or $70 US dollars. For more info about Corsair products you can click the link here. As I said all the prices are from the Corsair website, so you should be able to find better pricing at your local stores or e-tailers.
Thanks to Corsair for providing the Glaive mouse and the Polaris MM800 RGB mousepad.
Corsair MM800 RGB Polaris mousepad
If you had told me that one day I would be having an RGB mousepad I would have laughed, and suggested you visit a doctor as I would have believed you had clouded judgement. But this is not the first time that I was wrong, and here I am looking at the MM800 RGB mousepad from Corsair.
So let’s take a quick look at the packaging and the contents.
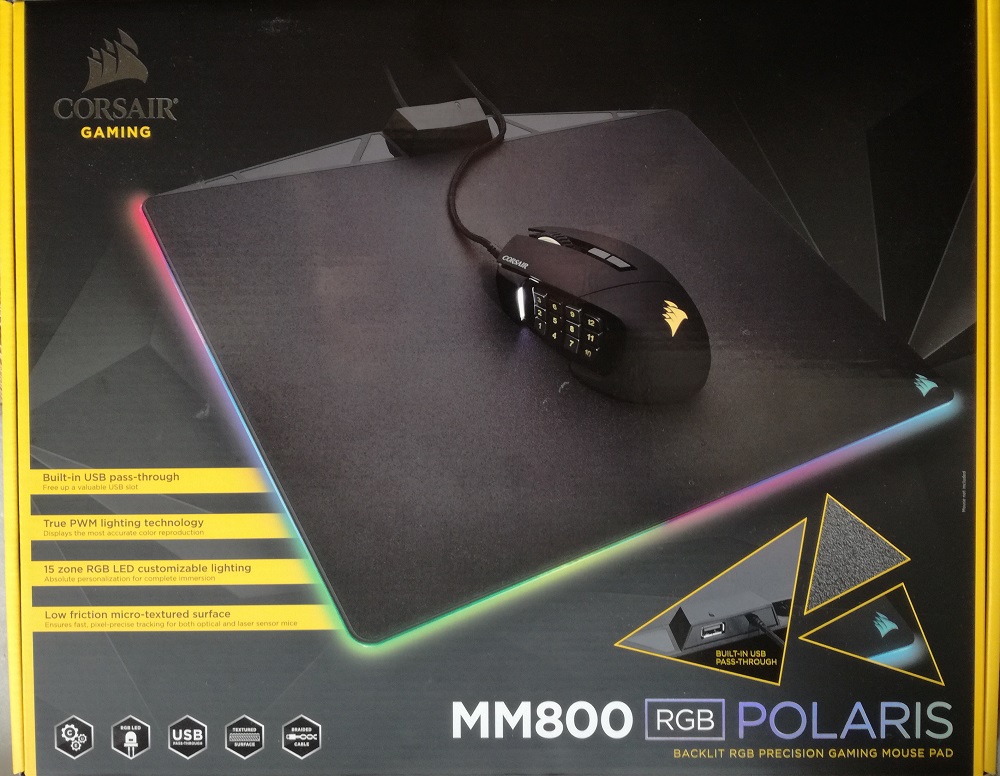
Here is quick look at the front of the box. We can see some of the features that the Corsair MM800 has, and since it’s not just a normal mousepad, it offers a USB pass-through, works with the CUE software, has 15 LEDs, and the cable is braided.
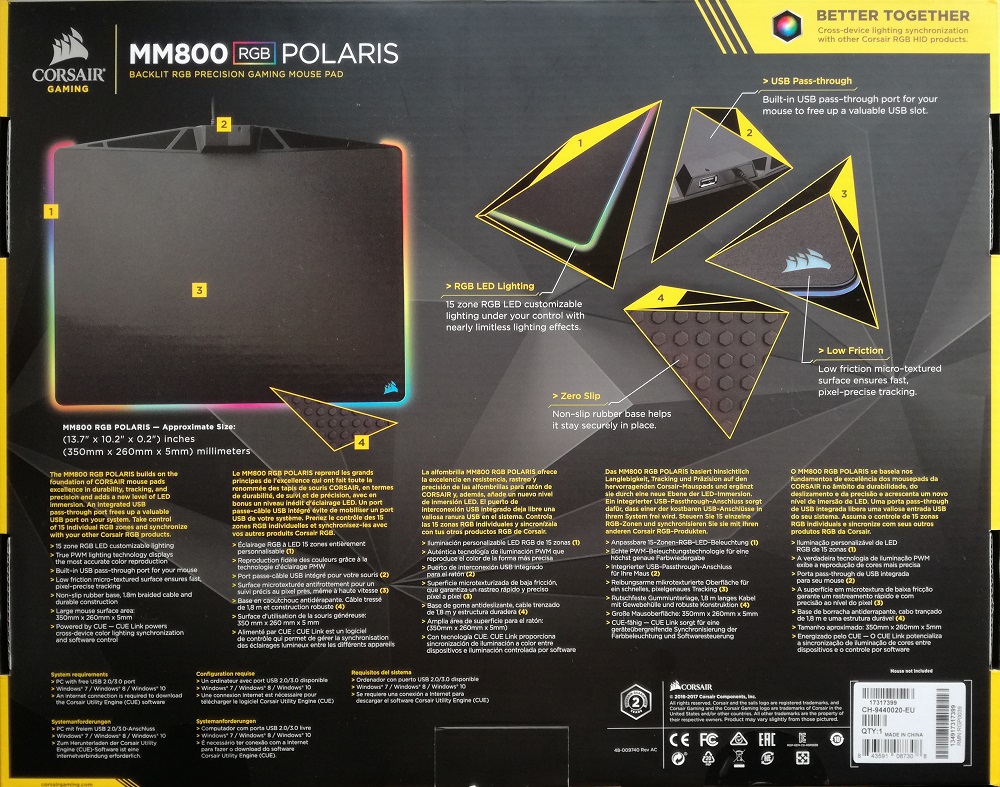
On the back of the box we find more information about the MM800. One thing that is worth mentioning here is that the Corsair MM800 comes with a two year warranty.
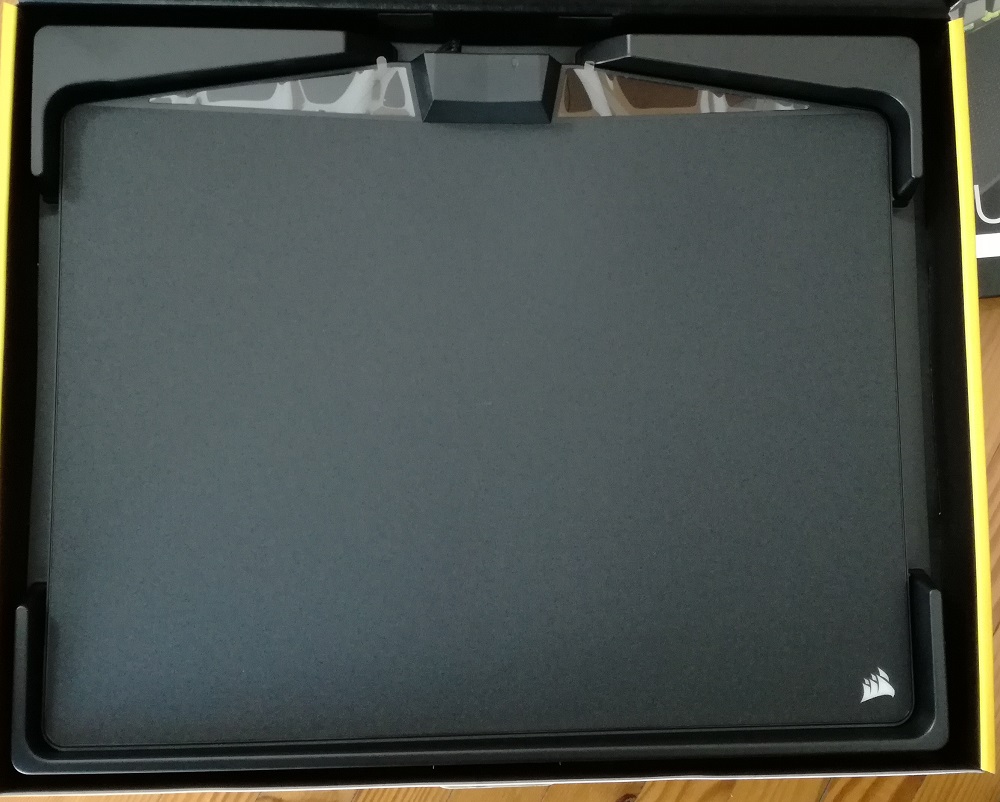
On opening the box, you will be greeted with the huge, for my taste, mousepad.
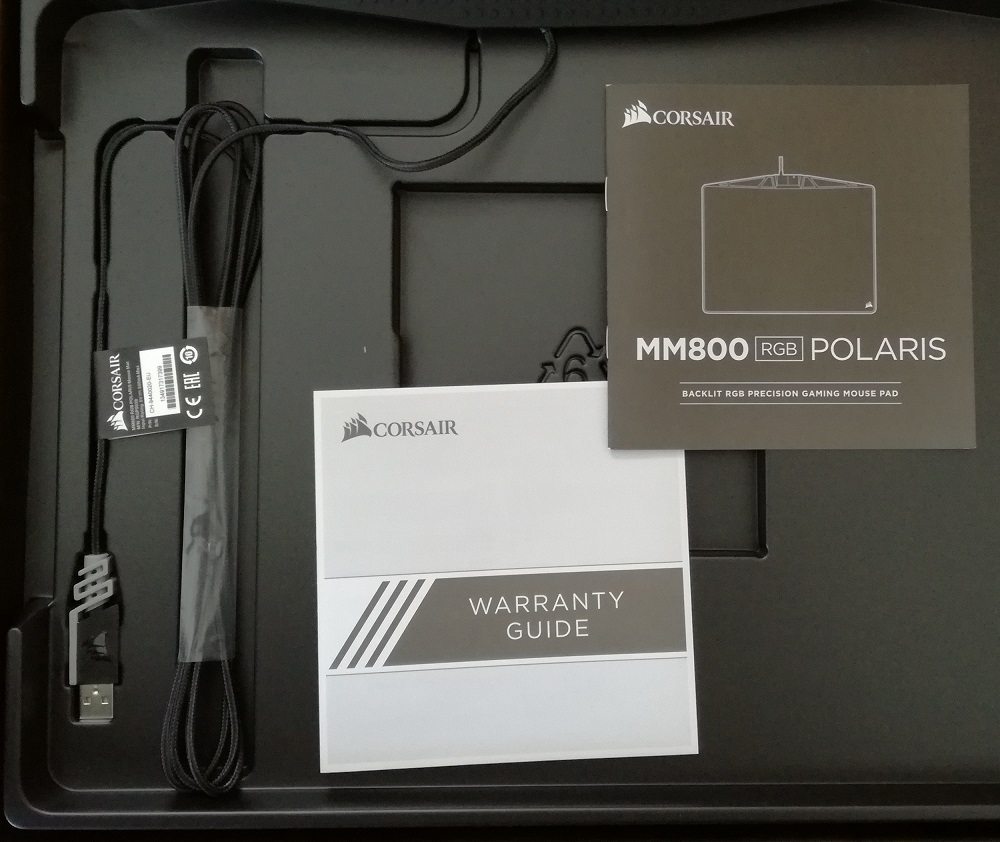
Once you lift the mousepad, underneath you will also find a warranty guide, and the quick start manual as is expected with everything you buy. Notice the placement of the USB connector, and also the cable, an excellent job with the packaging, nothing is loose everything is in their place, and even if you decide to put all back you know where to put everything.
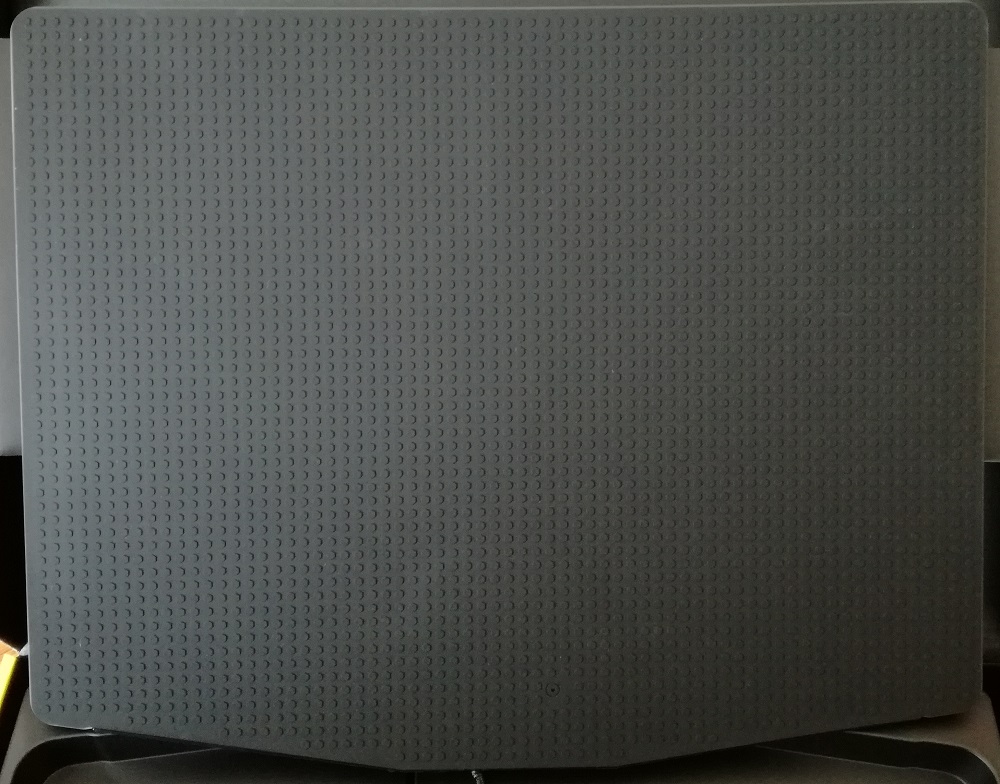
The rear of the mousepad is rubber based and it is non-slippery. I have to say that I did have a hard time trying to move the MM800 in any direction, you can lift it very easily, but sliding it wasn’t an easy task, as it should be, so it's an excellent job.
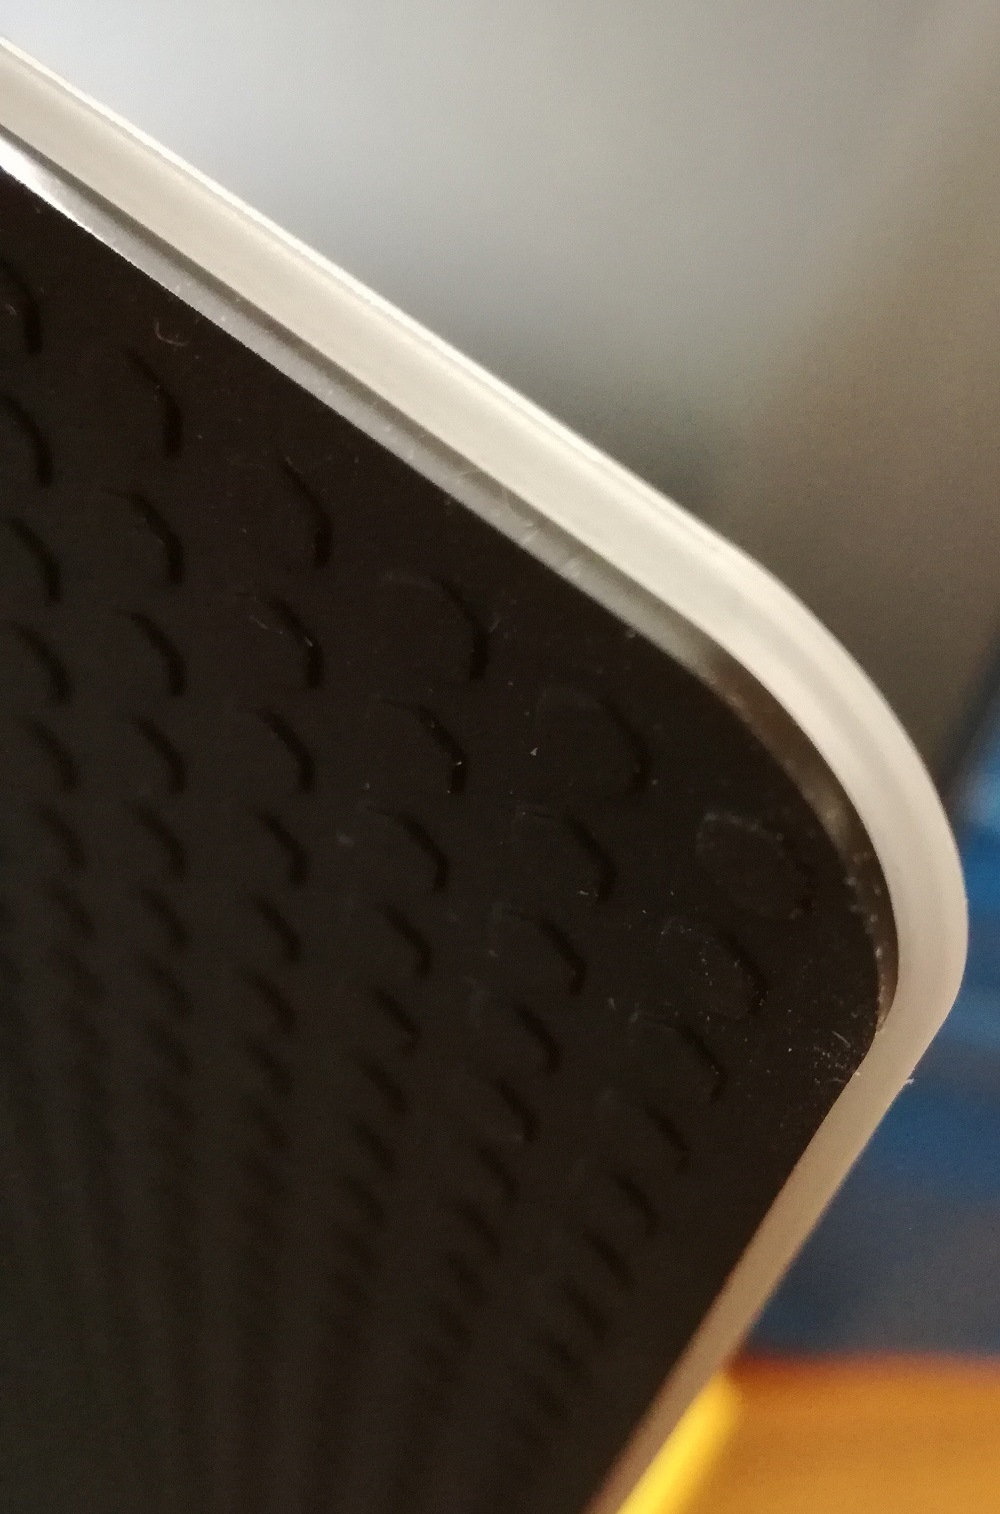
A quick look at the edges of the Polaris MM800 and we can see that they are all rounded, which is pleasing to the eye since you don’t have any rough edges but also gives a nicer and more cleaner look when the RGB LEDs are lit.
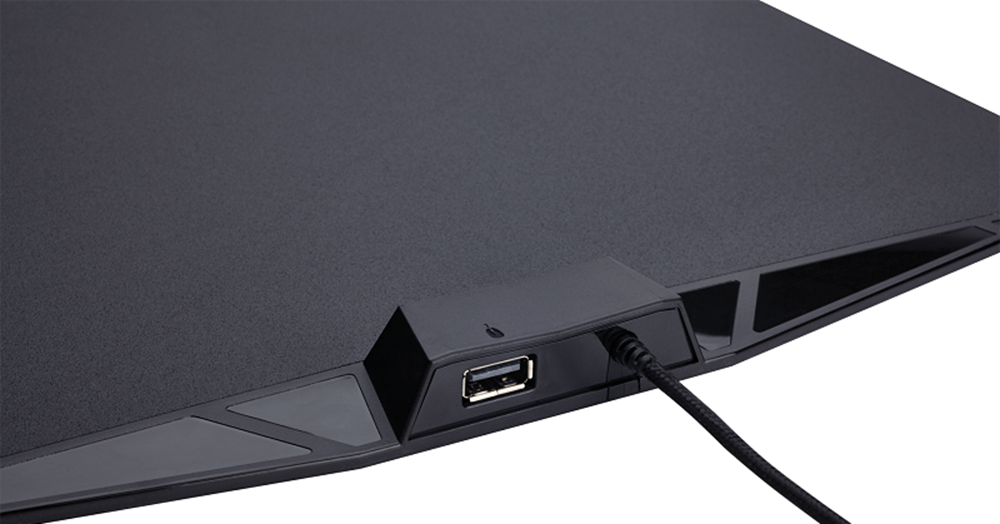
The Corsair Polaris MM800 had a braided cable, and on the back you will also find the USB port to connect your mouse, this way you won't have to have two cables going from your desk to your computer, however some cable management will be required to make everything look tidy on your desk.
Now let’s take a closer look on the Corsair Glaive mouse.
Corsair Glaive mouse.
As always let’s start by taking a look at the box and its contents.
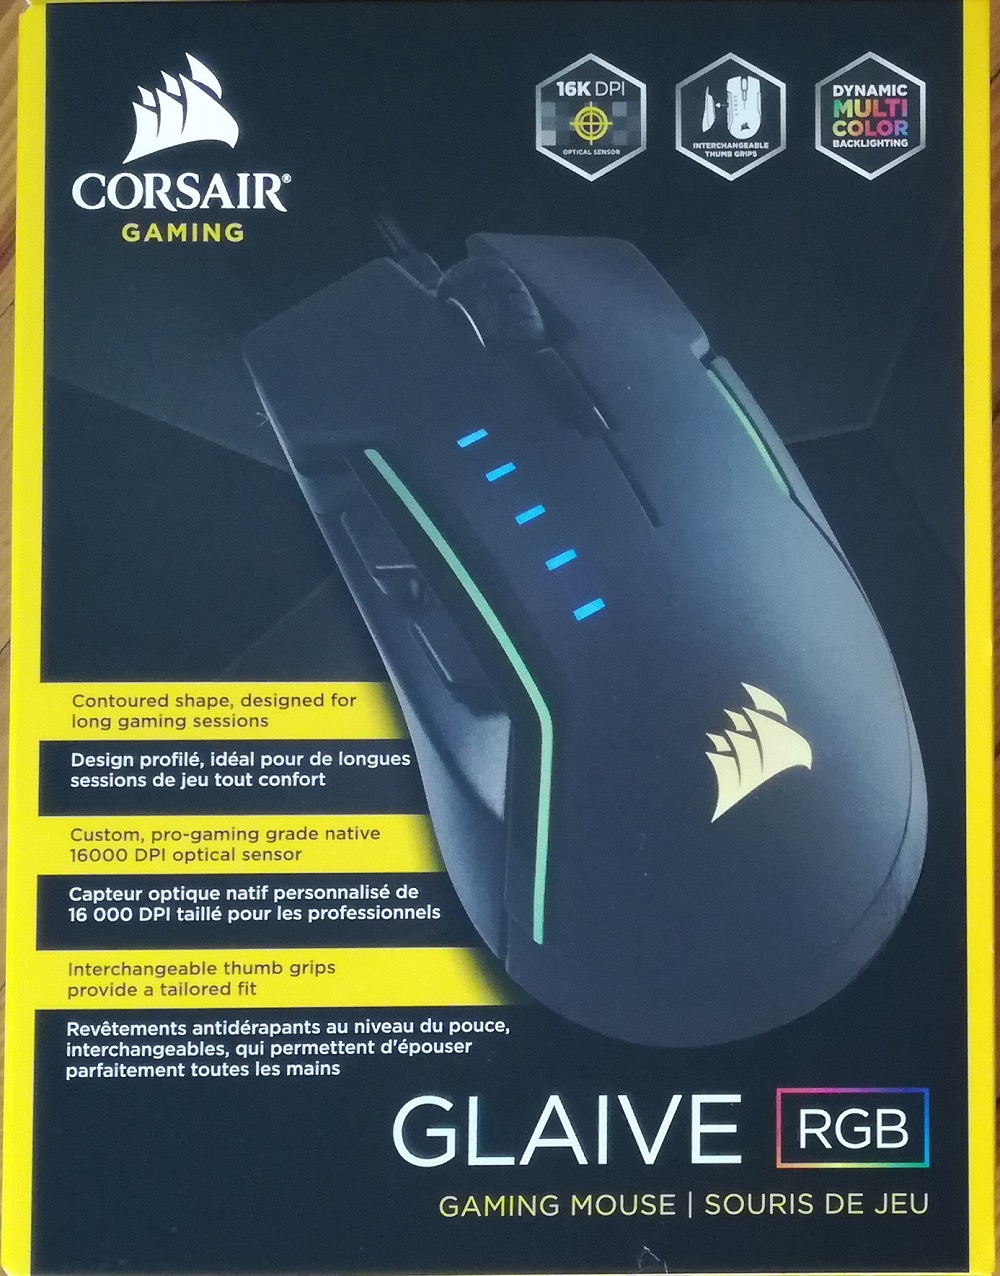
The front side of the box, and as you would expect you will find the main information about the Glaive mouse which includes a 16K DPI sensor, interchangeable thumb grips, and three LED zones that each can be manually controlled with the CUE software.
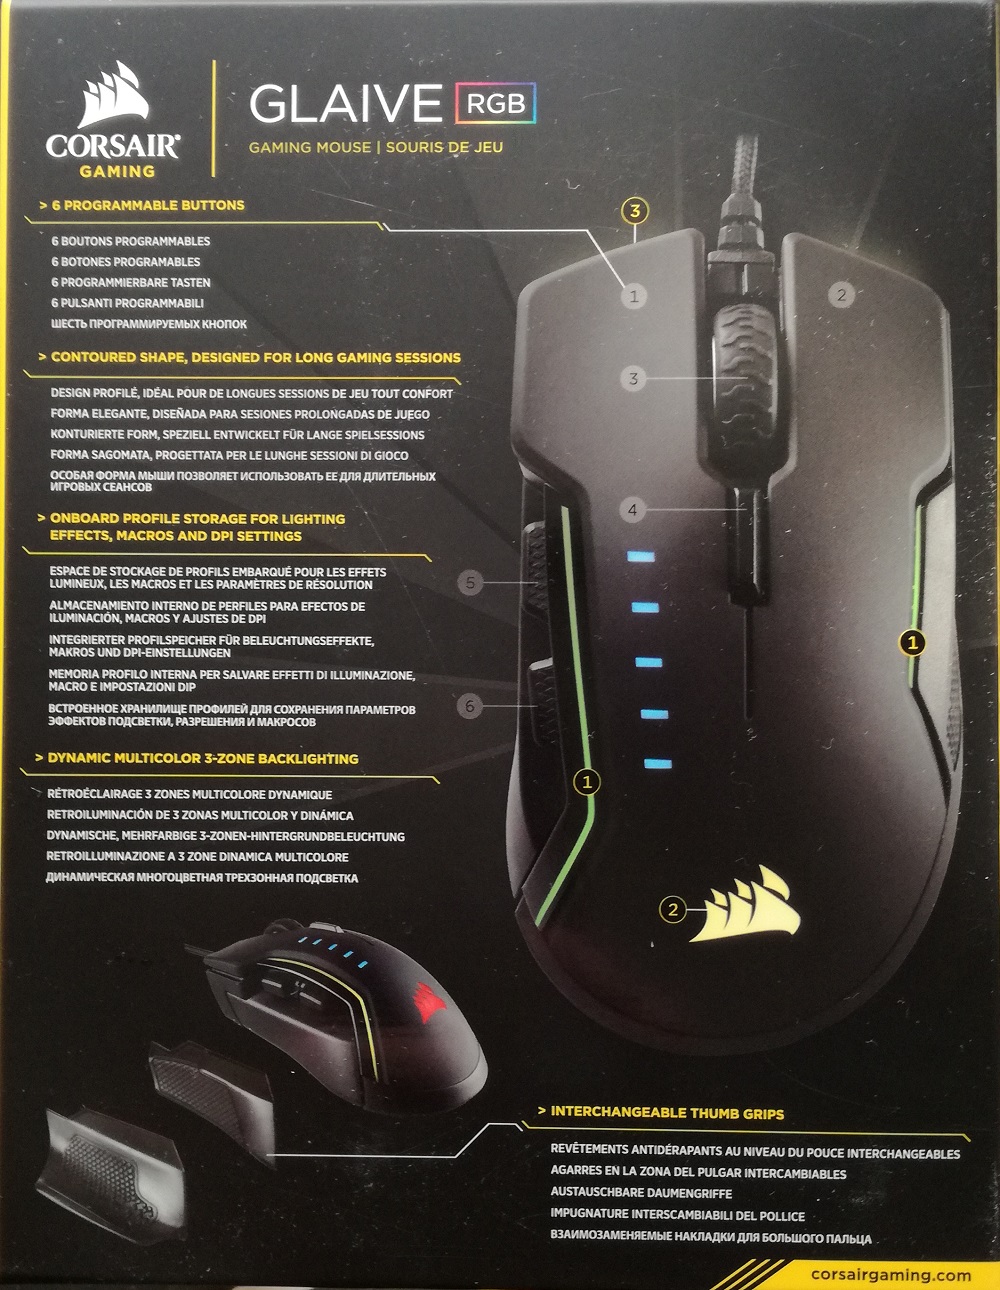
A look at the back of the box, and here you get a very quick overview of the mouse, showing the three different thumb grips, the three different LED zones, the DPI LEDs that show how high the sensitivity is, and the six reprogrammable buttons. Almost all of the extra functionality will require you to use the Corsair CUE software, but once you set everything up you can store these settings in the internal memory that the Corsair Glaive has.
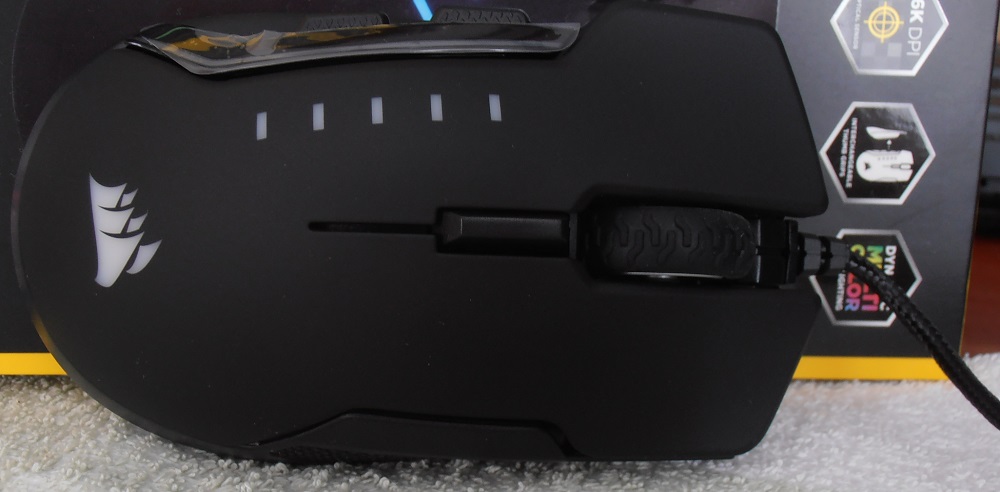
Here is a quick look at the top of the Corsair Glaive mouse. You can manually set the colour of the Corsair logo, but the five LEDs that indicate the DPI sensitivity are blue, and always on.
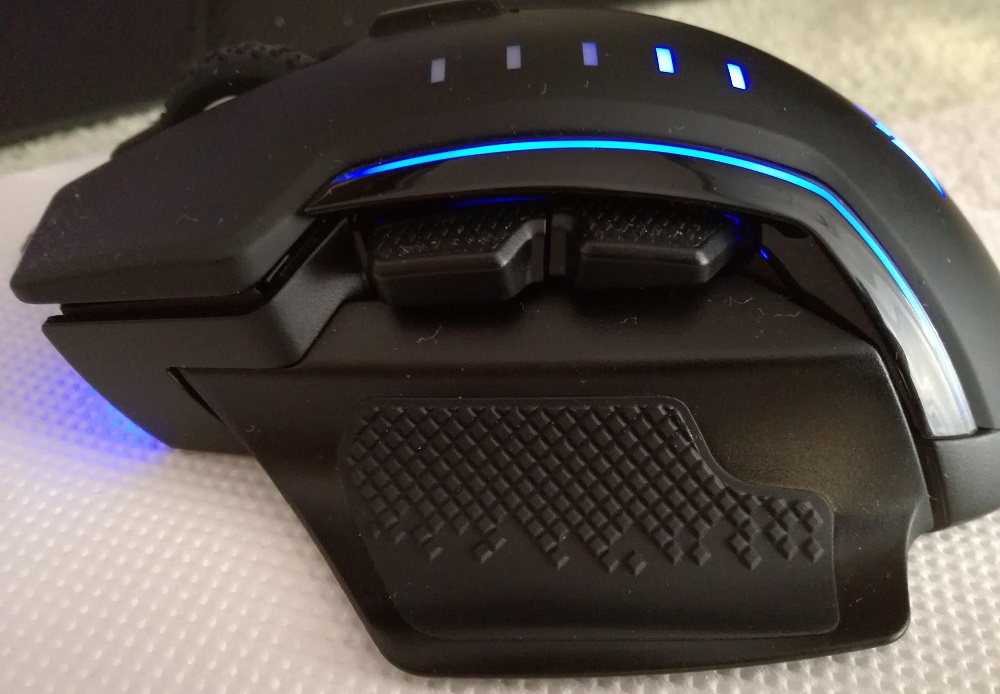
Here is a look at the left side of the mouse, where we can see the blue DPI LEDs on top, the two buttons that by default will go forward and back although you can change that from the CUE software, and one part of the edge light that I manually set to blue. The thumb grip is one of the two extras that come with the Corsair Glaive.
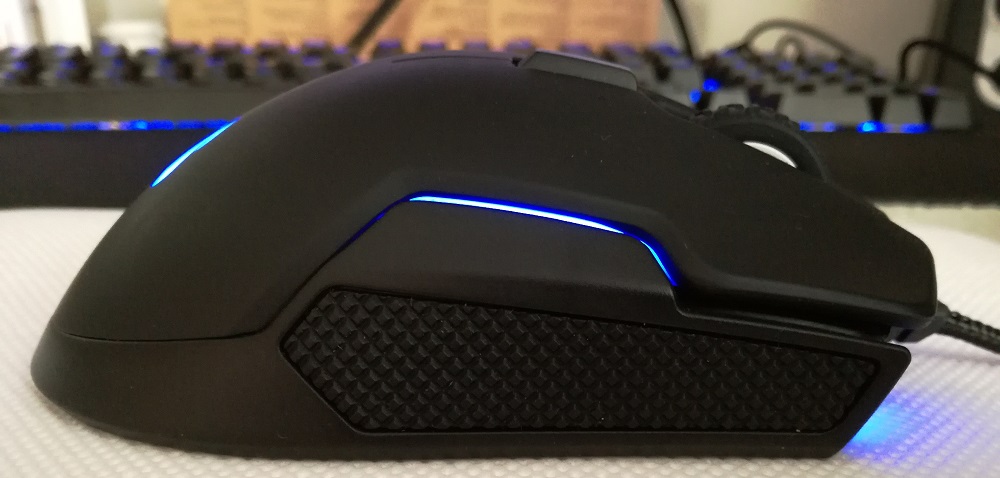
Here is the right side of the Corsair glaive, and we can see the rubber grip at the bottom, and the other half of the edge light.
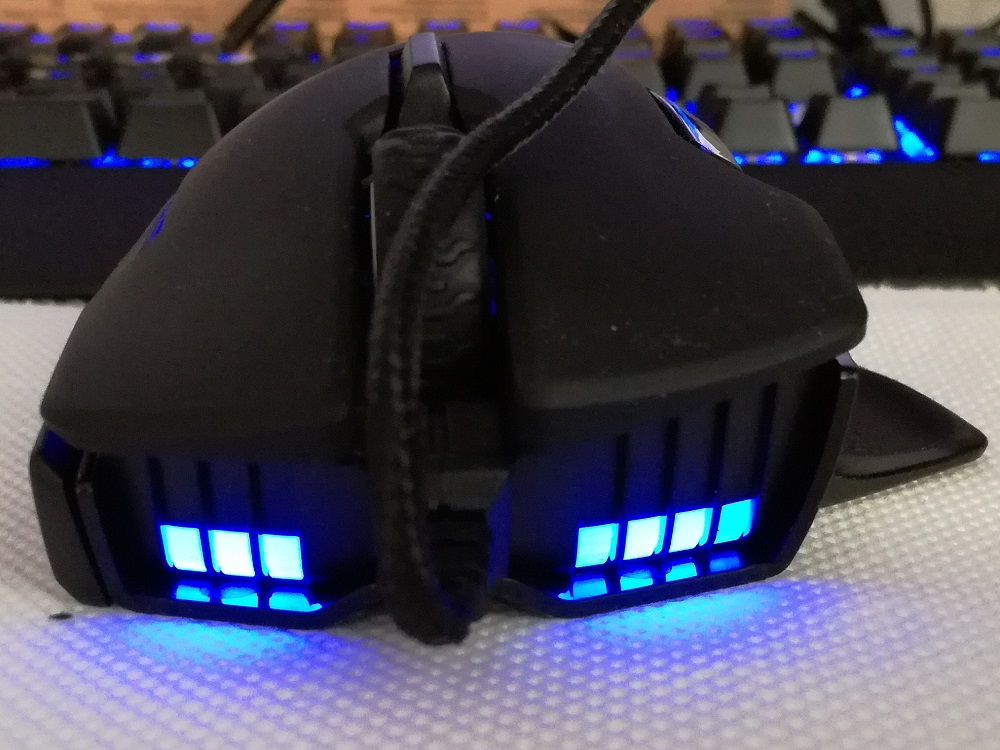
The front of the mouse.
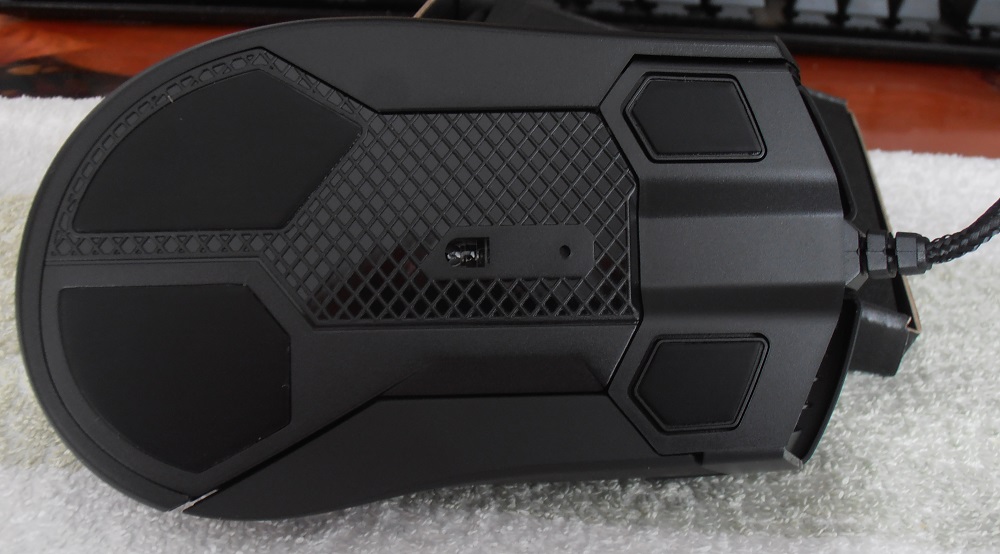
Here is the bottom of the Corsair Glaive mouse.
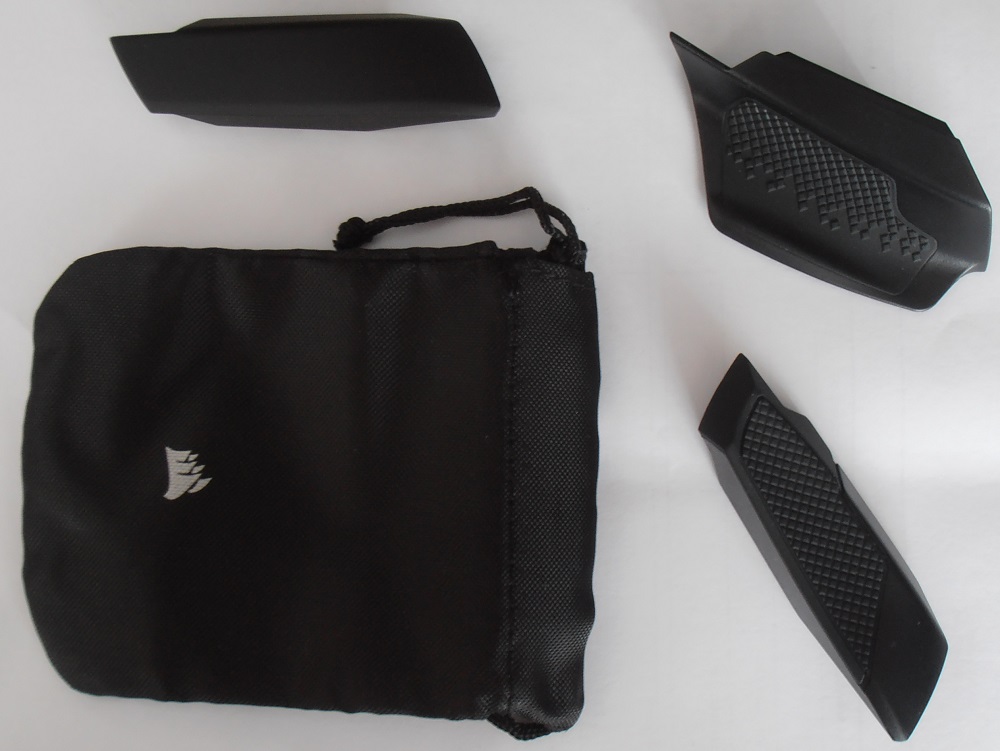
Inside the box we find the extra two thumb grips shown in this picture, both have a rubber texture and are for the left and right sides. The one at the top left is pre-installed on the mouse. All of them are magnetic so changing them is a very simple task and also they are very well secured. There is also a carrying pouch so that you can store the extra thumb grips without losing them.
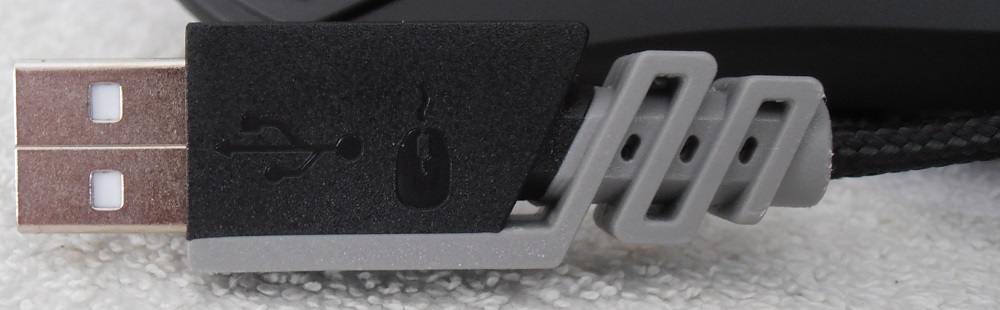
Here is the USB connector, and it has a mouse graphic on it so when you look at the cable you can easily identify it.
Corsair CUE software.
Corsair CUE software.
Let’s start with the Corsair Polaris mousepad, it has 15 RGB LEDs and it’s the easiest one to manage in the CUE software, since you only have to play with the Lighting effects, as we can see from the picture below.
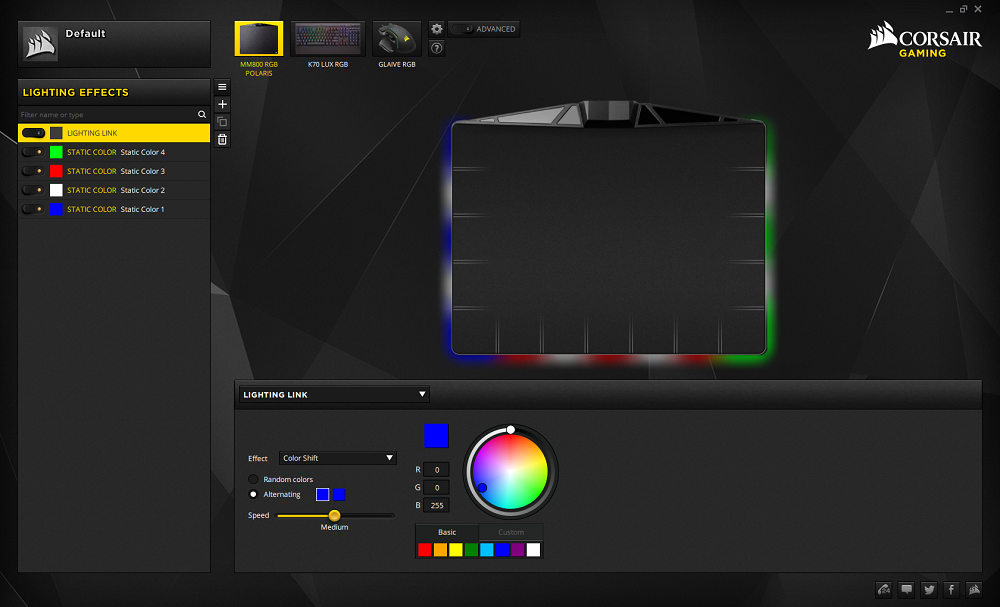
Now, as with the Corsair K70 LUX RGB, you have a lot of options to play with when it comes to lighting. Here is a quick example of how you can make it look, and you still have access to all the lighting options that Corsair offers. Overall this was the easiest one to set up and it requires very little time to configure it exactly the way that you want.
Now let’s move on to the Corsair Glaive mouse.
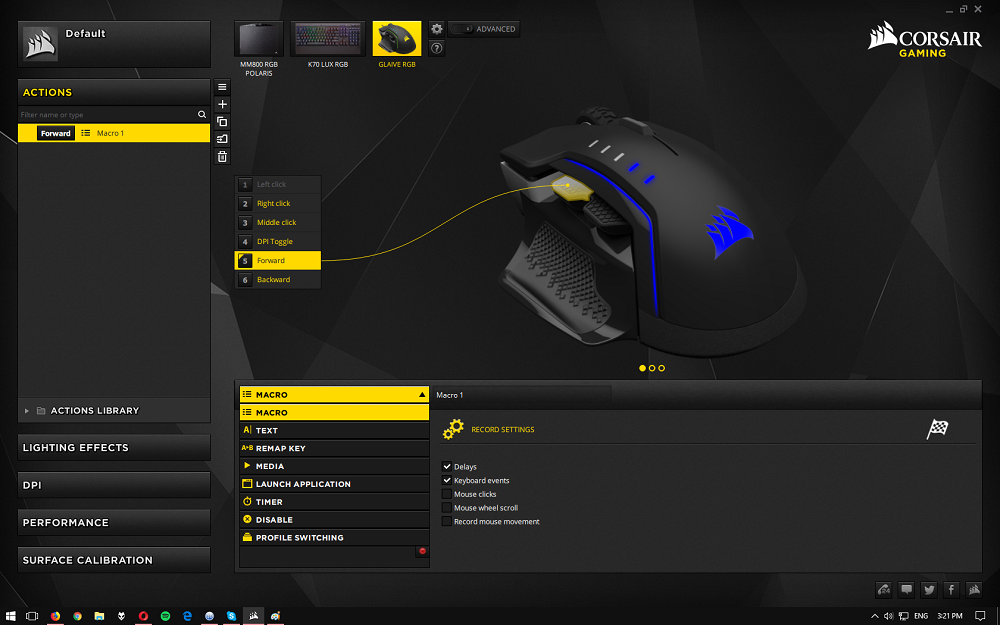
Everything starts with the Actions and here you can manually set what you want to do with each of the mouse buttons. As we can see everything is very clearly labelled and you won't get confused as it's obvious which button you selected, since it will also be displayed on the main screen.
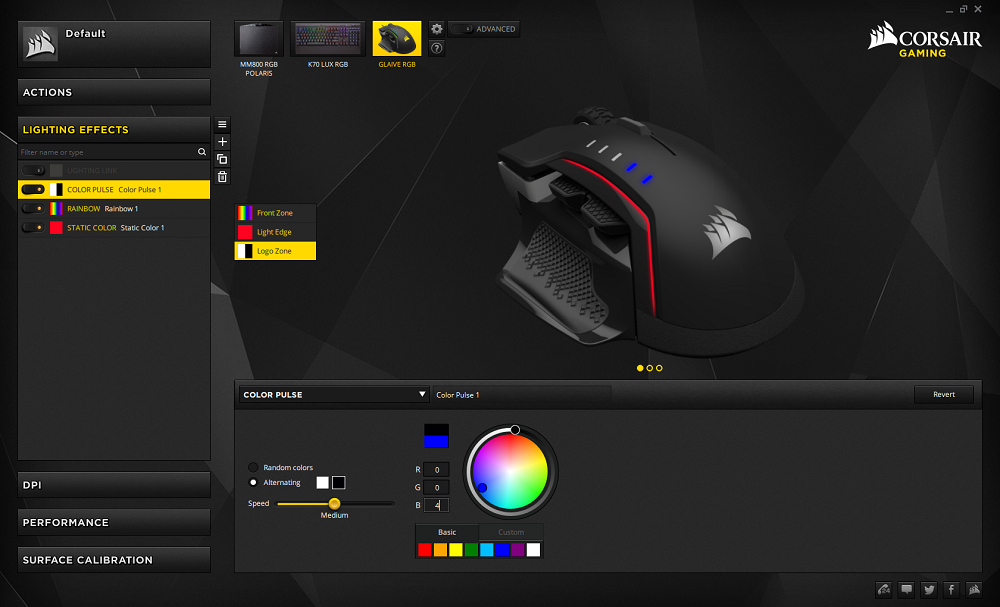
The lighting effects section is one of the more interesting ones in the CUE software. Here you can manually set what each of the three zones will do, and have all three of them with totally different effects. Once again Corsair has done an excellent job at making sure that you know which zone you are changing and at the same time you have a preview of what you should expect to see on your mouse, that you can see in the CUE software.
One thing that I think needs improvement is the blue colour on the DPI indicator LEDs. It would be nice to have the ability to also change them to whatever colour you like.
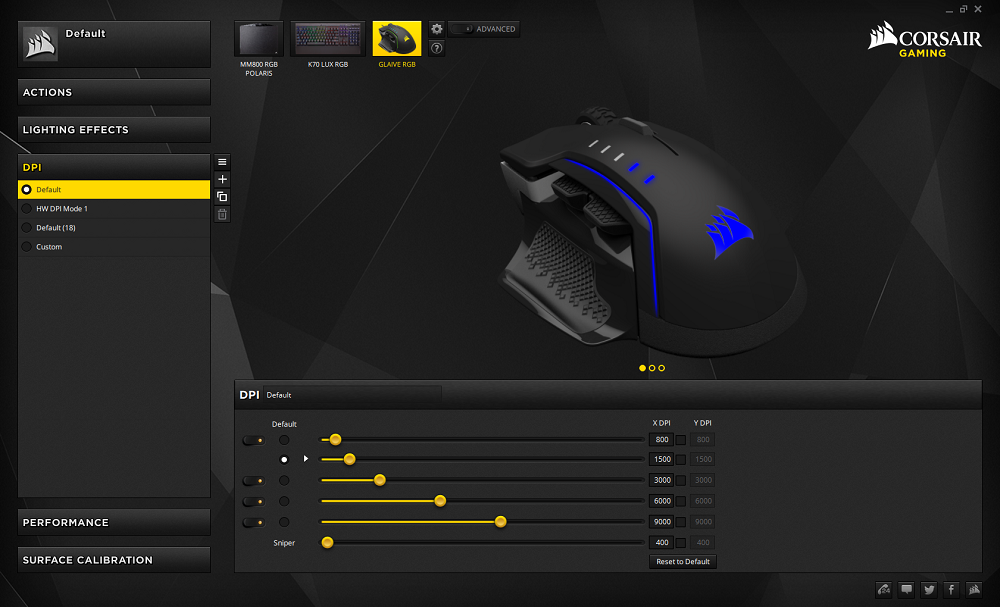
As I said there are five LEDs that indicate the level of sensitivity that you are on, but this is only a quick visual look, as inside the Corsair CUE software you will find the option to create your own mode, or you if you don’t want to do that you can edit one of the existing ones that are available. Moving on to the lower part of the DPI section and we have the option to select what would be the default sensitivity. Just click on the circle and that one will be the default from now on. If you are very picky you can manually set the sensitivity on the X and Y axes to fit your needs.
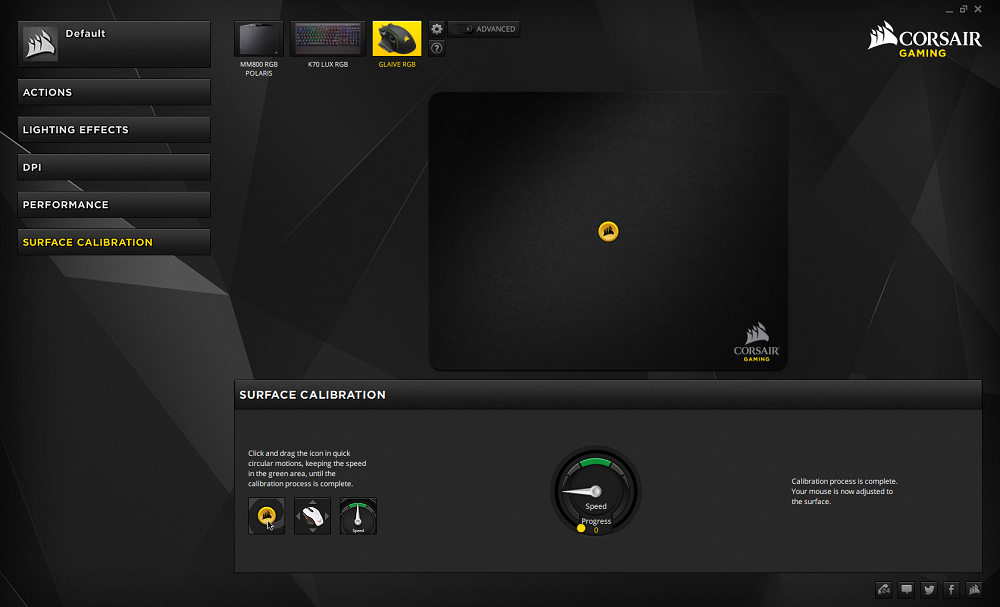
The last option is the surface calibration and here you will be asked to move your mouse until the mouse is calibrated for the current surface.
My thoughts on the Corsair CUE software
Maybe the main reason why I wanted to test these Corsair Products was the CUE software. I know that it might sound strange but I wanted to see what can be done with it, and how much value software can add, how easy it to use them and to learn how to tweak it to maximize productivity, and yes make everything look more pleasing to the eye.
You get the CUE software from the Corsair website, after which you are only a few clicks away and you are ready to use it. Installation is very simple, easy, and it was trouble free, as expected.
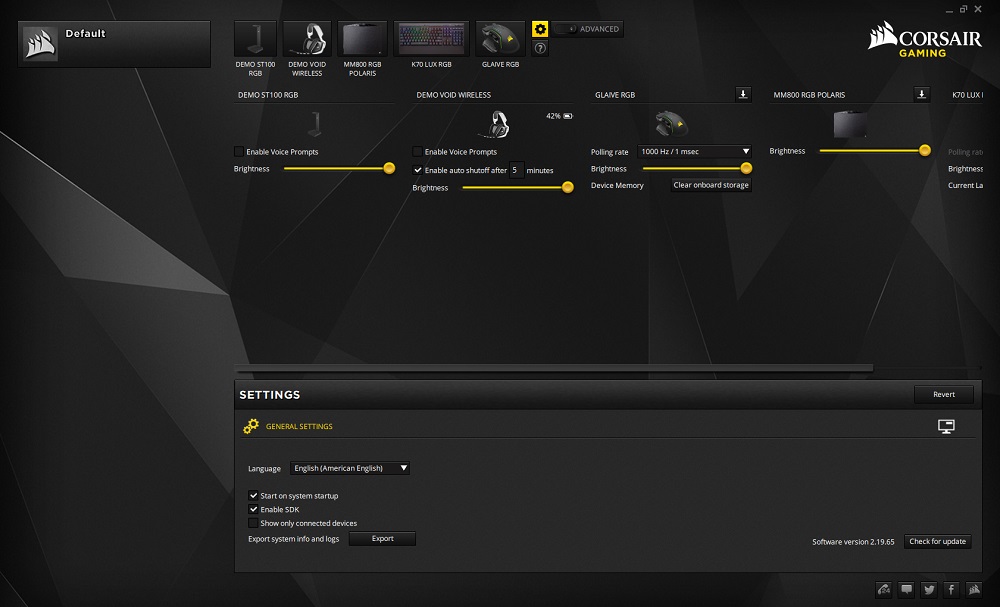
When you open the Corsair CUE software for the first you will see all the devices that are connected and also you will see the Corsair Void and the ST100 RGB headphone base, both of them market as demos. As demo devices you can get a preview of what you can do with them. These are the only ones that I did not get the opportunity to test, but I am sure that they will work as shown in the CUE software. If you wish you can now go to the global setting menu and select the option to hide the demo devices, and while you are there do a quick check to see if you have the latest firmware for your connected devices.
The Corsair CUE software has some very nice options. Starting with the lighting options where you can choose from the configurations that are offered in the software or you can create your own, although it’s not the easiest of tasks but it’s also not that complicated to learn how to customize it to your needs. You will need to dedicate some time to learn how to use it and at the same time learn from your mistakes. There are also more advanced options like macros, remapping keys for the keyboard and for the mouse, but once you know what you want and take the time to learn how to do it, the rewards can be great, especially in productivity tasks.
Now, how much value can software add? Well the simple answer is a lot. It's a fact that you will need to dedicated a few hours to learn, either by trial and error or just by visiting the Corsair forum and reading, but the reward is worth it. Even if you don’t want to play with macros and you just want to make everything to look awesome, you can do that, as the options are here so it’s up to you and what you want to do with it. I can say that the experience changes for the better with the use of the CUE software, so I would recommend installing it. I do hope that one day I will see the LINK, SSD Toolbox, and the CUE software all in one, so that we can have full control from just one program, but for the moment I have to say that the CUE software is a must if you want to have the best experience that you can
from your hardware.
Let’s move on to the conclusion.
Final thoughts…
For the Corsair Polaris MM800 RGB mousepad.
I have been using the Corsair Polaris MM800 RGB mousepad pad for a month now, and I have to say that the overall experience was very pleasant. The large surface area took me some time to get used to but at the same time you have much more space to move your mouse both for gaming and also for productivity. The surface of the Polaris MM8000 allows you to be very fast, something that was nice when I played some FPS games, and the same can be said for daily tasks making the overall experience very good. There is also a cloth version of the Polaris MM800 that should provide better grip, and it’s nice to have these options to choose from. I, personally was happy with the low friction matt surface that I got to test, and I did not miss my previous cloth mousepad that I had been using, mainly because I can clean the surface on this one very easily, but also because the colour has stayed the same, something that does not happened with my previous cloth mousepads after a few weeks, as they all went from black to grey. The pricing is the only part that might hold you back, it’s not cheap, but if you consider that at the same time you get full RGB LEDs then the pricing starts to look more attractive.
As a final word the “Corsair Polaris RGB"
MM800 mousepad is an excellent choice, the LEDs add that extra spice on your desktop and at the same time you get a great mousepad.” So I give the Corsair Polaris MM800 the "Very Good" award.

For the Corsair Glaive mouse.
Comfort was excellent, using this mouse for hours of gaming was a pleasure, and it is extremely comfortable, to the point that I had to reconnect my previous mouse just to verify that the old Microsoft mouse was mediocre at best. The build quality of the Corsair Glaive mouse is very good. It's not a heavy mouse, and there is no way to add or remove weight any extra weight, however for me the weight was spot on and I did not need any extra. There are also two extra thumb grips. I stayed with the default that was already fitted to the mouse, but it’s good to have the extra options to choose what best fits your needs. All of them are magnetically attached for more convenience and I am sure that one of them will fit your needs.
Buttons, well nothing negative to say about the two on top as the gaming experience was excellent. The thing that has annoyed me the most with other mice is the extra buttons on the left side that usually protrude, making the overall experience very unpleasant. Thankfully this is something that I never experienced with the Corsair Glaive, as they are placed in a way that you simply can’t press them by accident. I can’t begin to describe how much I like this. The only button that I managed to press by accident was the DPI switch, not that I did that often, but it did happen. Still it's not something that can be easily fixed with just a few clicks.
The Corsair Glaive mouse has three RGB zones which look impressive, especially when you have very little light. One thing that I would have liked to see is a fourth zone for the DPI LEDs. This way, you could change the blue colour to whatever you like, or just turn it off. The mouse also has internal memory so once you set everything up the way you want it you can upload the profile and use it, or just create a few more, and use them with the Corsair CUE software.The last thing that I need to mention is the pricing. It is on the high side but after a month of using it I can say that I would be more than happy to invest my money in the Glaive mouse.
As a final word the “Corsair Glaive mouse is an excellent mouse with excellent build quality and also it comes at a price that most people can afford. The part that won me over was the comfort, and I never got tired using it.” So I give the Corsair Glaive the "Excellent" award.

You may comment on this review below.


")